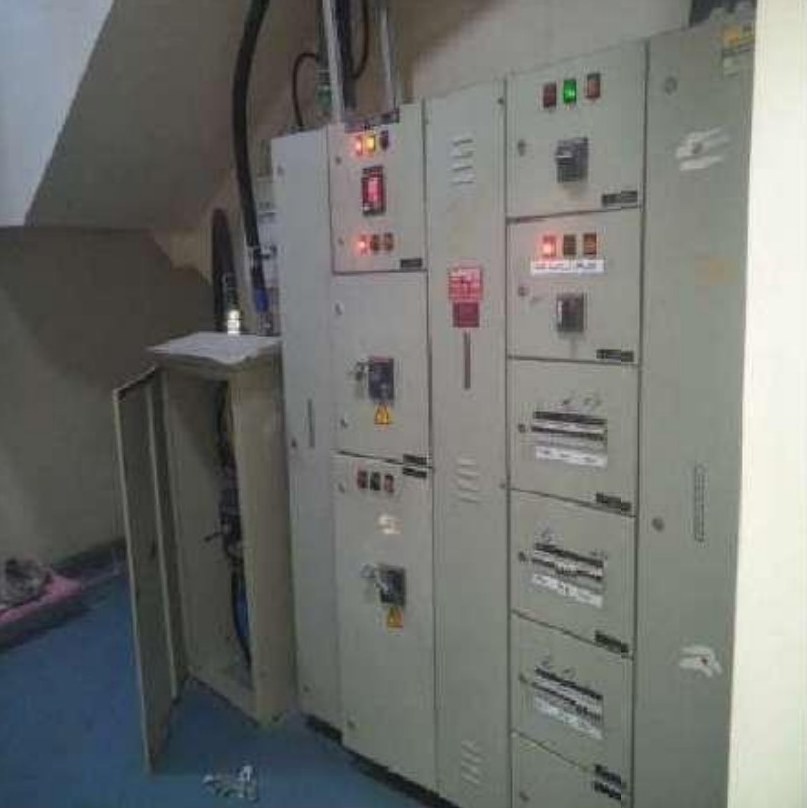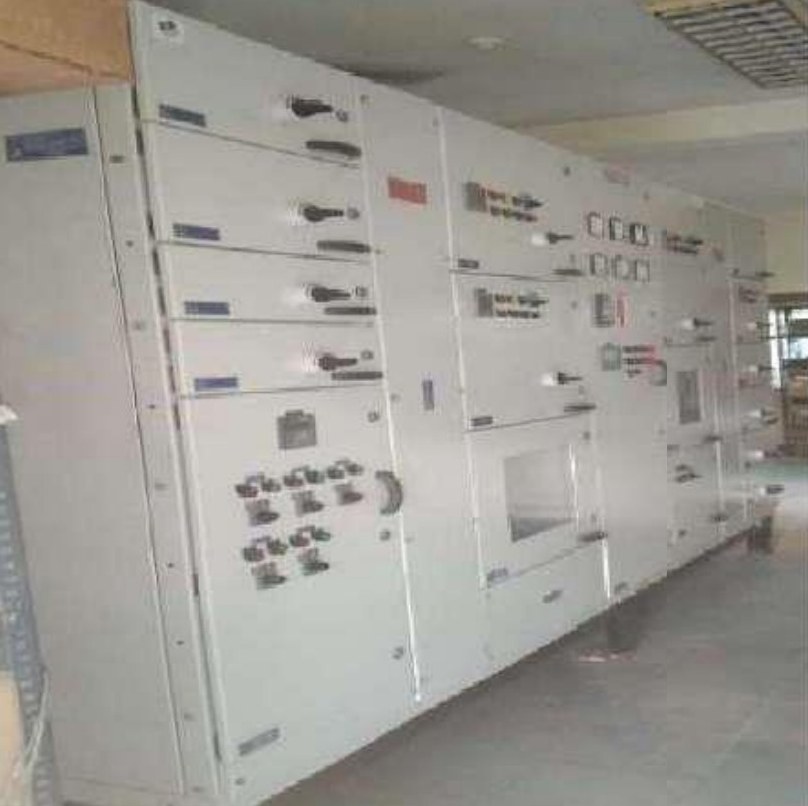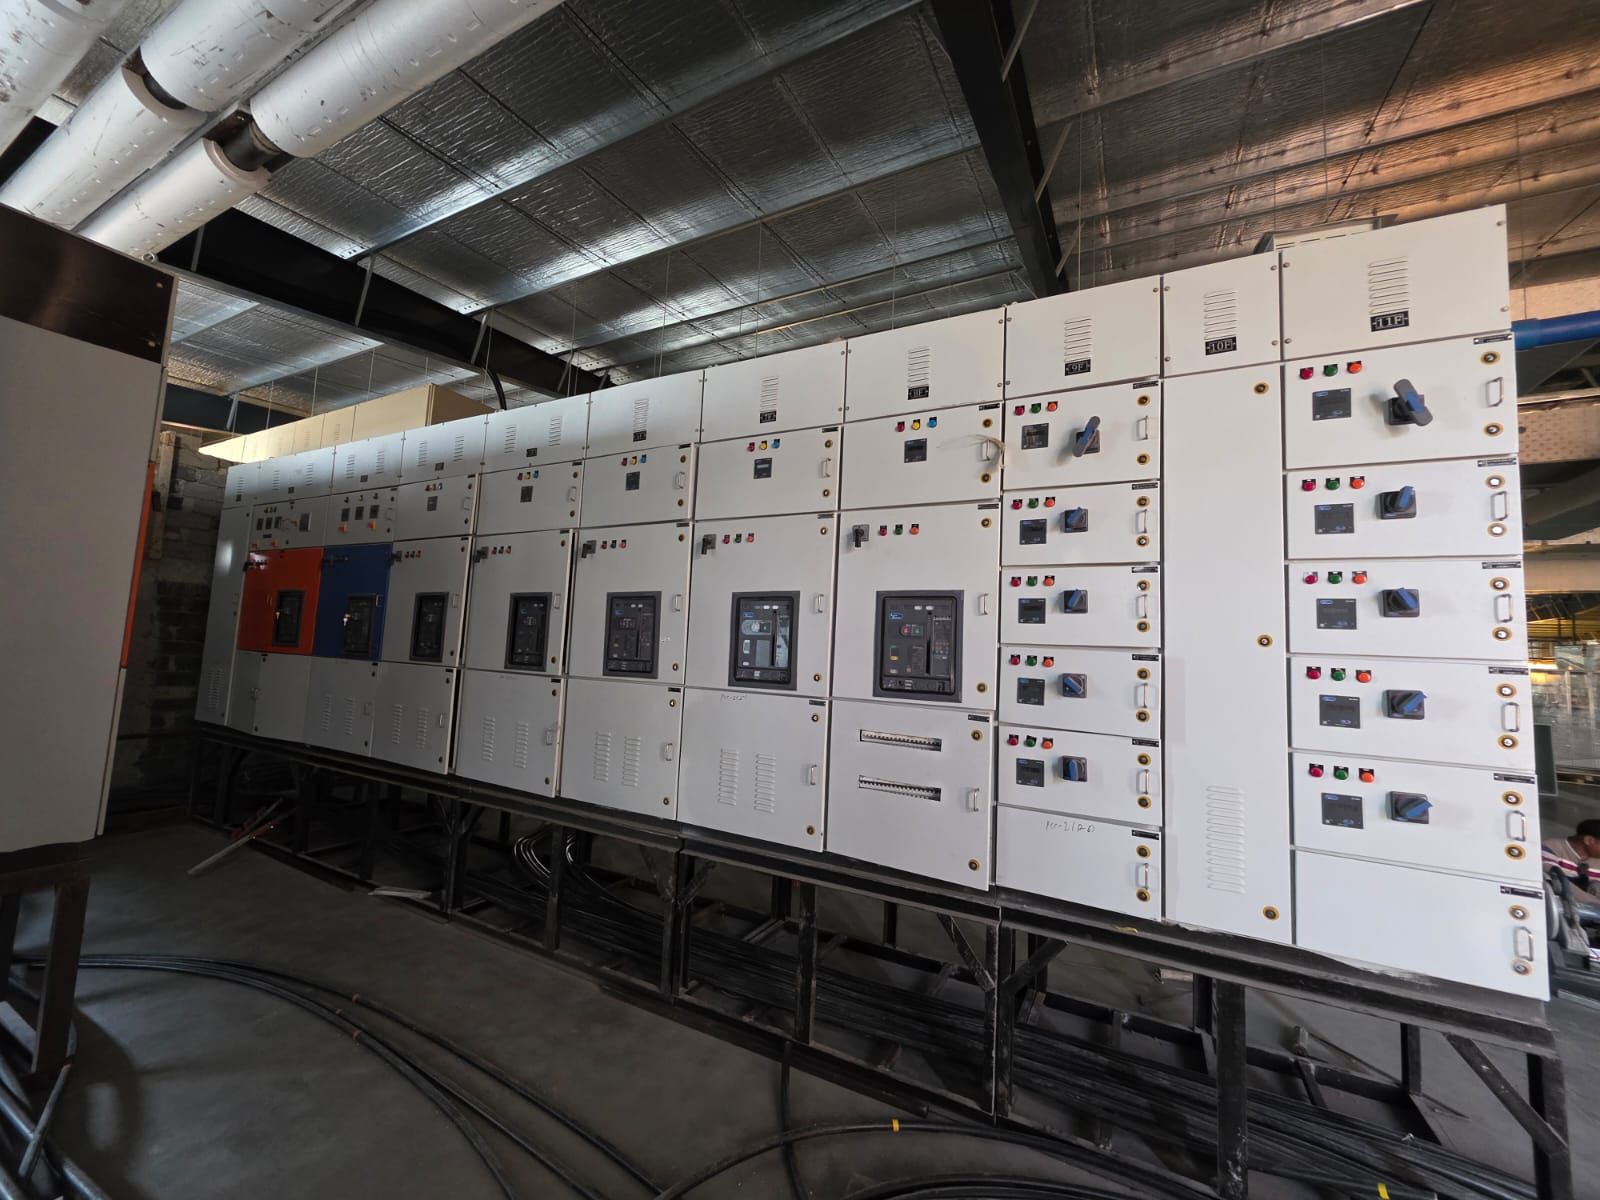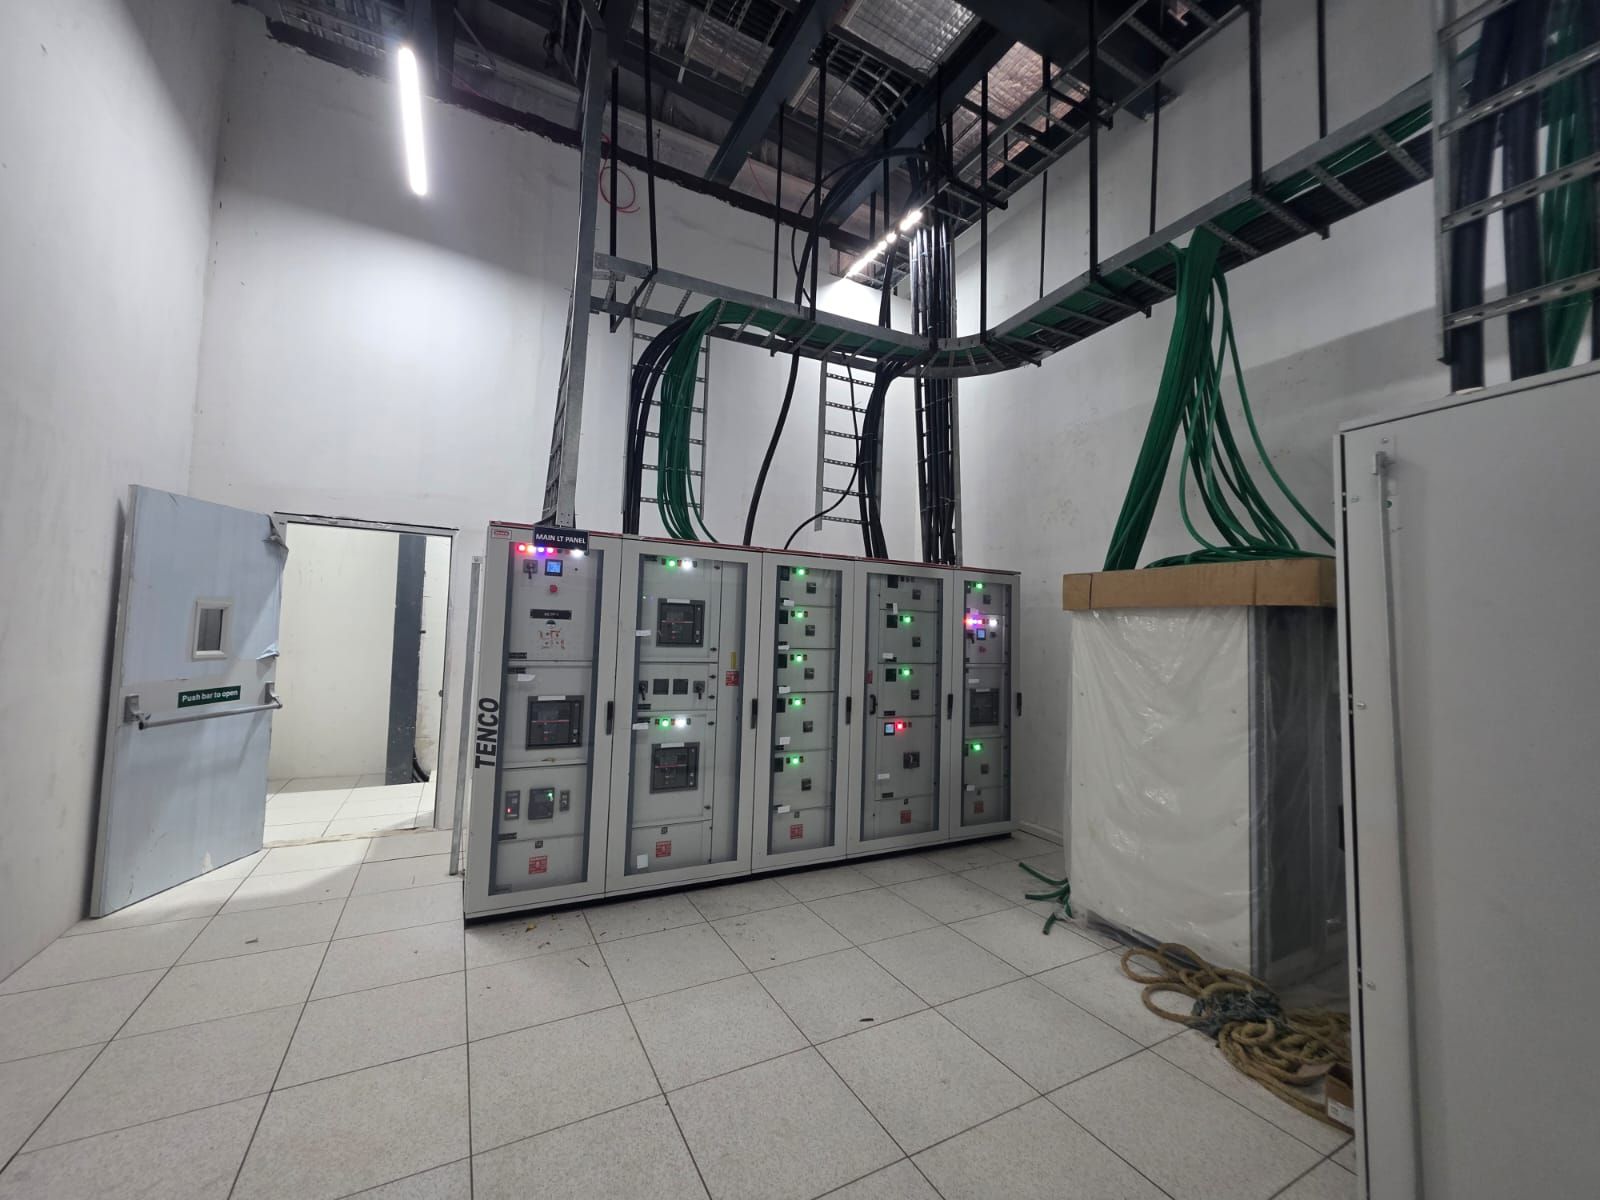
Every factory, building and colony depends on its electrical panels. They receive power, distribute it to feeders and protect equipment when something goes wrong. Proper electrical panel installation in Raipur means a safe, reliable system that is easy to operate and maintain.
A panel can be well made at the factory and still fail on site if it is installed badly. This guide covers the main types of panels, the installation steps and the checks you should insist on before the panel is energised.
Common types of panels
Different panels do different jobs. Most industrial and commercial sites have several of these:
- Main LT panel or PCC, which receives power from the transformer and feeds the site.
- MCC panels, which start and protect motors.
- Distribution boards, which feed lighting, sockets and small loads.
- APFC panels, which correct power factor and help avoid penalties.
- Feeder pillars, which feed outdoor loads such as street lights and colony supply.
- HT panels or VCB panels on the high-voltage side.
The right mix depends on your load, the layout of the site and future plans.
Planning electrical panel installation in Raipur
Good installation starts long before the panel arrives on site. Plan these points first.
Location and space
Panels need a dry, ventilated room or a weatherproof enclosure. Leave enough clearance in front and behind for operation and maintenance. Keep panels away from water lines and heat sources.
Foundation and cable entry
Floor-mounted panels sit on a level base, often a channel frame or plinth. Cable entry from below usually needs a trench or cable cellar. Plan the trench size for present cables and future additions.
Ratings and protection
Check that the incomer, busbar and outgoing breakers match the transformer size and expected fault level. Confirm that motor feeders have the right starters and protection.
Installation steps on site
A careful installation follows a clear sequence. Skipping steps leads to problems later.
- Check the panel on delivery for damage, missing parts and correct ratings.
- Move and position it with proper lifting equipment, never by dragging.
- Level and fix the panel to its base, then join shipping sections if needed.
- Tighten all busbar joints to the specified torque.
- Lay, gland and terminate incoming and outgoing cables.
- Connect panel body and neutral to the earthing system.
- Label every feeder clearly, matching the drawings.
Neat cable dressing is not just for looks. It improves cooling, makes fault finding faster and reduces the risk of accidental contact.
Choosing the right enclosure and busbar
The enclosure protects the panel from dust, water and accidental contact. Indoor panels in clean rooms can use standard enclosures. Panels in dusty plants, outdoor feeder pillars and areas near water need better sealing and protection.
Busbars carry the full current of the panel. Copper busbars are compact and handle heat well. Aluminium busbars cost less but need a larger size for the same current. Either can work when sized correctly and installed with proper joints.
Keep these points in mind:
- Choose an enclosure suited to dust and moisture on your site.
- Size busbars for the full load plus a margin for expansion.
- Provide ventilation or cooling where heat build-up is likely.
- Use a gland plate and cable entry that keep out rodents and dust.
These details are easy to fix at the ordering stage. They are part of every well-planned electrical panel installation in Raipur, where summer temperatures put extra stress on panels.
Never energise a new panel without testing. Typical checks include:
- Insulation resistance of busbars and outgoing cables.
- Continuity of earth connections to the panel body.
- Correct operation of breakers, interlocks and indicating lamps.
- Relay and release settings as per the design.
- Phase sequence check before connecting motors.
Record the results and keep them with the panel drawings. These records are the starting point for every future maintenance job.
Upgrading or replacing an old panel
Many older units still run on open-type switchgear, rewirable fuses or overloaded busbars. Signs that a panel needs upgrading include frequent tripping, hot spots, burnt smells, missing covers and no space for new feeders.
Replacing a panel in a running plant needs planning. Temporary supply arrangements, shutdown timing and cable extensions all have to be sorted out in advance. A planned changeover keeps the downtime short. Choosing the right breakers is part of this; see our MCB, MCCB and RCCB guide.
Maintenance after installation
Panels need regular care. Dust, heat and loose connections are the main causes of panel failures. Clean panels during planned shutdowns, tighten connections, check for hot spots and test protective devices. Our LT panel maintenance checklist explains the routine in detail.
For electrical panel installation in Raipur, think about local conditions too. Summer heat and dusty surroundings mean ventilation and good enclosures matter even more.
Next steps
List the loads you need to feed, the space available and your future plans. Then ask for a site survey so the panel layout, ratings and cable routes can be agreed.
Bari Electrical Services handles electrical panel installation in Raipur and other locations, from LT panels and distribution boards to HT panel erection. See our LT work, browse all services, or contact us. You can also call 70006-76224 or 73890-14890.